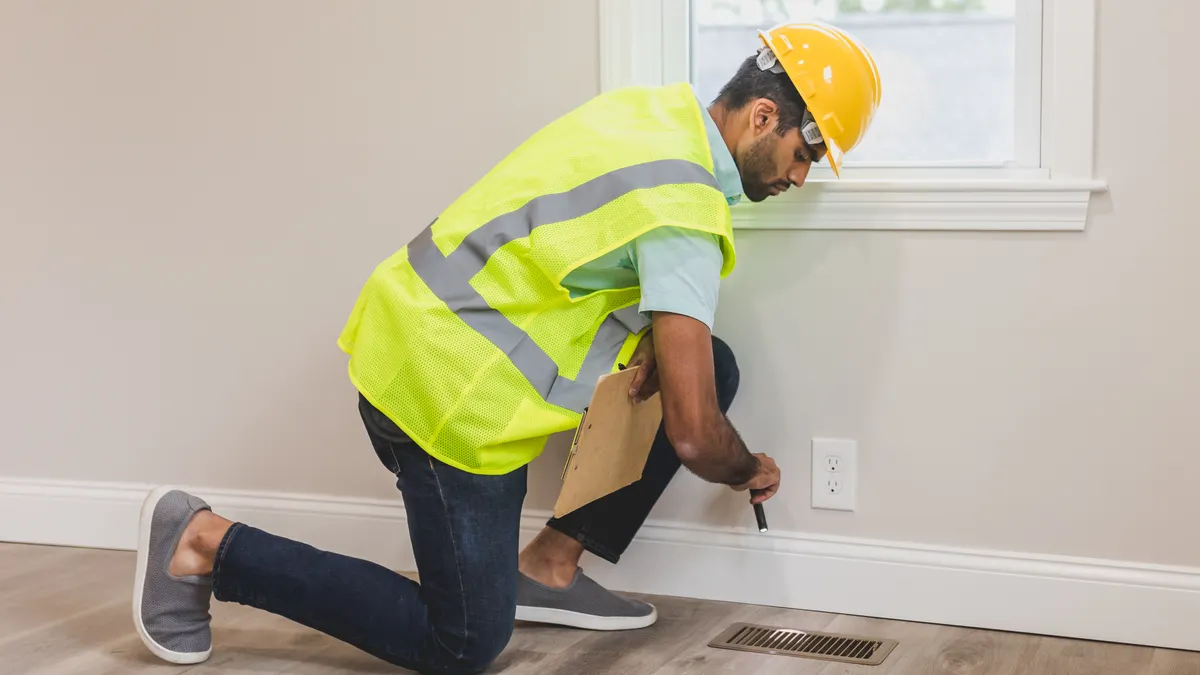
Last updated: November 02, 2026
Quick Answer: In most homes, hidden sewage contamination can be narrowed down in 3 steps — odor, moisture, then a small inspection opening — before you ever start demolition. Hidden sewage behind a wall or under a floor is usually found by tracing smell, dampness, staining, and temperature changes back to a wall cavity, subfloor, or baseboard. This guide to How to Find Hidden Sewage Contamination Behind Walls or Under Floors lays out how to follow those clues before the mess shows itself on the surface again. When the visible spill is gone but the smell, staining, or wetness stays put, the job is to find where the sewage is trapped before more material gets ruined.
Key takeaways
- Hidden sewage contamination often leaves clues long before the source is visible.
- Start with smell, staining, and a moisture meter before cutting anything open.
- A thermal camera can show cool, wet areas, but it does not confirm sewage by itself.
- Baseboards, drywall cavities, and subfloors are the most common hiding places.
- If the contamination has spread widely or there is structural rot, this is a job for a qualified remediation pro.
- For broader indoor air concerns, the hub on sewage odor, air quality, and hidden contamination is the next stop after this guide.
Start with the strongest clue: odor, dampness, and where they lead
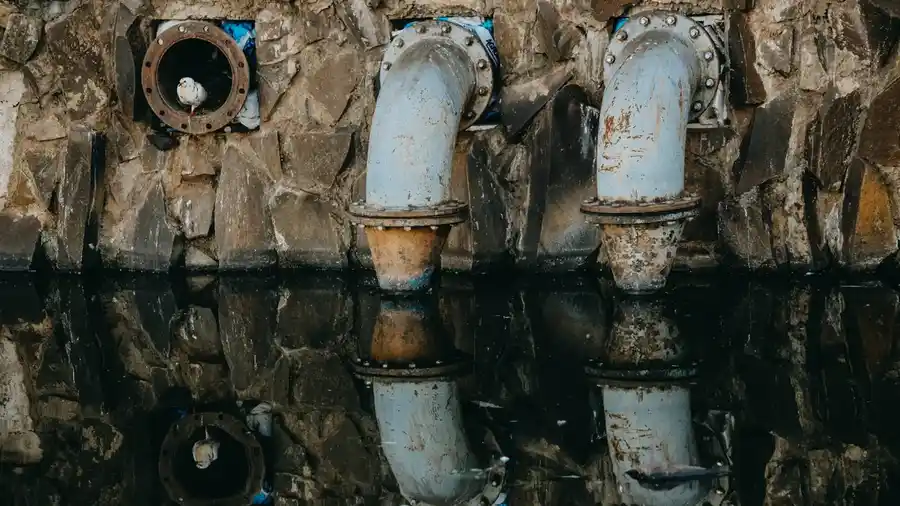
The fastest practical route is smell first, then moisture, then stain patterns. Begin in the room that smells worst. Fan outward in a slow grid. Sewage odor tends to settle near the lowest or least ventilated part of a room.
Stand still in each corner for 30 to 60 seconds. Then note whether the odor is strongest near a sink cabinet, toilet wall, floor register, or the edge of a room. A sharp, musty, fecal, or sulfur-like smell that gets stronger near a baseboard or floor seam is a clue, not proof. You are trying to shrink the search to one wall section or one floor bay.
Look low first. Sewage that has moved behind drywall or under flooring often leaves dirt or discoloration along the bottom edge of drywall, on shoe molding, or on the underside of a baseboard. If the odor gets stronger when the room stays closed for an hour and weaker when you open windows, that points to a trapped source rather than a one-time spill.
Do not trust odor alone. Old drain problems, trapped household waste, or even a dead pest can imitate parts of the smell. Treat odor like a map. Then confirm the exact area with tools; when the source still is not obvious, consult a professional or, if needed, the EPA’s indoor air guidance at https://www.epa.gov/indoor-air-quality-iaq.
Use a moisture meter to map the wet path
A moisture meter is the best first tool for hidden sewage contamination because it shows where material is still holding moisture, not just where the odor happens to be strongest. Go with a pin or pinless meter if you have one; either works as long as you compare readings across the same room.
Begin at the wall or floor area that smelled strongest. Take readings every 6 to 12 inches in a small grid. Mark each reading on painter’s tape or a notepad. A clear rise near a baseboard, along the bottom 2 feet of drywall, or beside a floor seam usually means liquid has moved in that direction. A wet band is more useful than a single high number.
Move from the suspected area toward drier material until the numbers drop. That edge shows where the contamination may end. If the meter spikes at the same line on both sides of a wall, the source may be inside the cavity or in the floor below, not just on the face of the wall.
Meters have limits. Dry paint can hide a damp cavity, and metal lath, foil backing, or thick flooring can distort some readings. Use the meter to map, not to diagnose the exact waste source; when the readings do not make sense, consult a professional and compare what you find with the EPA’s moisture and indoor mold guidance at https://www.epa.gov/mold. If the numbers refuse to repeat, move to the next clue: heat and staining.
This is the point where many readers save time by tying the findings to the broader indoor-air picture in the hub on sewage odor, air quality, and hidden contamination, since hidden moisture and airborne contamination often travel together.
How do you spot sewage inside a wall cavity?
You spot sewage inside a wall cavity by combining staining, trim damage, odor concentration, and localized moisture rather than by hunting for a dramatic leak line. Hidden contamination behind drywall usually leaves small, ugly clues before the wall gives up and collapses.
Check the bottom 4 to 12 inches of the wall first. Brown or yellow tide marks, bubbled paint, soft drywall paper, swollen joint compound, and warped baseboards are the common signals. If the baseboard is dark on the back side or separates cleanly from the wall with little resistance, the drywall behind it may be holding contamination.
Use a flashlight at a low angle across the wall surface. Raking light makes ripples, bubbles, and stains easier to see. Pay attention to screw heads, trim nails, and seam lines; moisture often shows around fasteners before the center of the drywall looks damaged.
A small inspection opening can be the clearest way to see what is inside a wall cavity when the other clues line up. If you open one, make it in the lowest suspicious spot, not in the middle of clean-looking drywall. A 2-inch to 4-inch exploratory cut can expose insulation, framing, or sludge without turning the whole wall into a demolition project. Should the cavity smell stronger at the opening, that is a strong sign the source is inside that bay.
What this method does not do is tell you how far contamination has spread through the rest of the wall. It is a locating method, not a cleanup method. If the drywall is soft over a wide area or the framing is visibly dark and swollen, stop guessing and plan for removal by a qualified pro.
Check the subfloor before you blame the finish flooring
The subfloor is where hidden sewage contamination often lingers after the surface flooring looks normal. If the room sits above a toilet, drain, laundry line, or tub assembly, the subfloor deserves a close check even when the top layer looks intact.
Start at transitions: door thresholds, floor vents, cabinet toe-kicks, and the perimeter of the room. A squeak that suddenly appeared, a soft spot underfoot, or a slight rise in the floor can point to swollen subflooring. Use your foot to find areas that feel “springy” or spongy, then confirm with a moisture meter.
If possible, inspect from below through a basement, crawlspace, or utility ceiling. Look for staining on the underside of plywood or OSB, darkened fastener lines, droplet marks, and damaged insulation. Sewage often travels along the underside of the subfloor and then wicks into joists or blocking. A single stained board edge is less helpful than a stain that follows the line of plumbing above.
A thermal camera can help here if you already have one. Wet material usually shows a different temperature pattern than surrounding dry material, especially when the HVAC has been running for 20 to 30 minutes and the room has had time to settle. Go with the camera to find unusual cool zones or broken patterns, then confirm with a moisture meter. A thermal camera cannot tell sewage from clean water, so it is a clue, not a verdict.
Do not forget the underside of trim and the seam where the flooring meets the wall. Sewage that escapes under flooring often stains the subfloor at the edge first, not the center of the room.
Use thermal checking to narrow the search, not to decide it
Thermal checking helps narrow a hidden sewage search when moisture is buried behind drywall, under tile, or below a finished floor. It works best after the room has been closed up for a while and the HVAC has not just cycled hard.
Scan slowly from the suspected source toward surrounding areas. Watch for a cooler strip along a baseboard, a cooler patch at the floor edge, or a temperature break that follows plumbing. Wet materials often hold heat differently than dry ones, especially in a conditioned house. A thermal camera can reveal a line the eye misses, such as a damp stripe behind a vanity wall or a cold patch under a hallway floor.
Go with the camera in a consistent setting. If the camera allows you to lock the scale, do that before you start moving through the room. Otherwise, the picture can exaggerate or hide the difference you are trying to see. If a suspicious area shows up, mark it and return with the moisture meter. That two-step method is better than cutting based on heat alone.
Thermal checking has drawbacks. Sunlight through a window, a heating register, or even a recently used appliance can create a false pattern. A camera can also miss a problem if the wall is already close to the same temperature as the room. For that reason, thermal checking is best treated as a screening tool, not a conclusion; if the picture and the readings do not match, consult a professional and verify the area before opening the wall.
What mistakes hide sewage longer than it should stay hidden?
The biggest mistake is cleaning the surface and calling the job done. That leaves contamination in drywall cavities, under baseboards, or in the subfloor. If the stain is wiped away but the odor returns in 24 to 48 hours, the source is still there.
Another common error is opening the wrong spot. A reader often cuts the center of a stained wall and misses the bottom edge where the moisture actually collected. That mistake wastes time, adds patching, and can spread contamination into clean areas. Cut at the lowest wet or stained point first, then expand only if the readings tell you to.
A third mistake is trusting paint or caulk to “seal” the problem. Fresh paint over a damp wall can trap odor and hide ongoing damage. Caulk at a baseboard can also mask a slow leak while the subfloor keeps soaking. If a wall or floor section still reads wet, sealing it only delays the real repair.
A fourth mistake is assuming all sewage problems are obvious and dramatic. Many hidden cases begin with a faint odor, a soft baseboard, or one strange moisture reading near a pipe chase. The longer the search waits, the more likely the framing, insulation, and flooring will need replacement instead of spot repair.
This is not the right project for someone trying to find a leak without any odor, staining, or moisture clue at all. At that point, the problem may be plumbing, ventilation, or a different indoor-air issue, and a licensed remediation or plumbing professional may be the faster route.
When to stop searching and bring in a pro
Stop the search and bring in a pro when the contamination appears to extend beyond one wall bay or one floor section. If multiple rooms show odor, if the subfloor feels soft over a wide area, or if a wall cavity has visible sludge, the damage is no longer a simple locate-and-open task.
Professional help is also the better call when the area is under tile, glued flooring, or a finished wall assembly you cannot inspect without major demolition. Guessing usually costs more in the end. A pro can use a moisture meter, thermal camera, and controlled opening plan without turning a small source into a large repair.
If the source seems to involve a toilet flange, drain line, or a ceiling below a bathroom, do not keep cutting random panels. That can expose wiring or spread contamination into adjacent spaces. The safe move is to document what you found, keep the area closed off, and hand off the job to a qualified contractor or remediation specialist.
The best outcome here is usually not a dramatic rescue. It is finding the hidden source early enough that only a limited section of drywall, trim, or subfloor needs attention.
What are signs sewage got behind the wall?
Strong odor at the baseboard, stained drywall near the floor, swollen trim, and a moisture meter spike in a narrow strip are the most common signs. A wall cavity can also smell worse at a small inspection opening than the room does overall. If the clue is only a surface stain with no odor or moisture, the problem may be older damage rather than active contamination.
Can hidden sewage be in subflooring?
Yes, hidden sewage can sit in subflooring after the top finish looks normal. Soft spots, staining from below, warped seams, and a moisture meter reading that stays raised near a plumbing line are the usual clues. A thermal camera may show a cool patch, but it should be paired with direct inspection before any repair plan is made.
Do I need a moisture meter to check contamination?
A moisture meter is not mandatory, but it is the clearest way to map where hidden contamination may still be present. Odor and staining can point you in the right direction, yet a meter helps confirm which wall or floor area is actually wet. Skip it, and you are more likely to open the wrong section and miss the source.
Drafted with AI; not yet reviewed by a person.