
Last updated: October 24, 2026
Key Takeaways
- A containment zone should block access, limit airflow, and protect nearby rooms from tracked debris.
- You need plastic sheeting, tape, scissors or a utility knife, and a way to keep people away for at least 24 hours if cleanup cannot start right away.
- You set it up by sealing the boundary, marking the entrance, and controlling airflow before anyone crosses the line.
- You isolate airflow by closing the room, controlling the doorway, and using negative air only when the setup supports it.
A safe containment zone around sewage damage starts with one goal: keep contamination in one place and keep people out of it. In this guide to How to Set Up a Safe Containment Zone Around Sewage Damage, the containment zone is the barrier system that separates the contaminated area from adjacent rooms until cleanup begins. If you are planning the setup, start with the boundary, then build outward from there.
What the containment zone has to do before cleanup starts
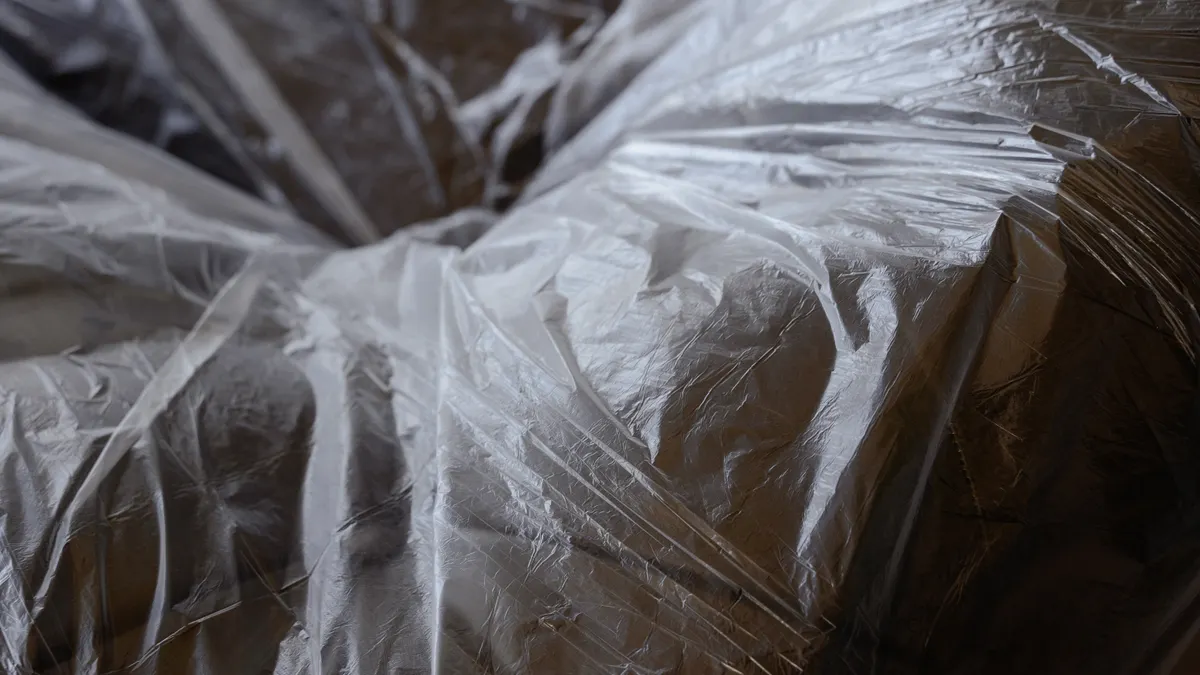
A containment zone has to block access, reduce spread through airflow, and protect nearby rooms from tracked debris. That is the job, and it is different from disinfecting or removing waste later. If the sewage damage is in a hallway, bathroom, laundry room, or basement corner, the zone should make the contaminated area feel clearly closed off within minutes, not hours.
The basic materials are simple: 6-mil plastic sheeting, painter’s tape or masking tape for light-duty placement, duct tape for fastening seams to smooth surfaces, a zipper doorway barrier or temporary flap, and a fan setup only if the zone needs negative air. For most homes, the right first move is not a complex rig; it is a clean boundary that is obvious from 10 feet away.
A good containment zone does three things at once. It tells everyone where not to step. It reduces the chance that dust, splash residue, or foot traffic moves into adjacent rooms. It gives cleanup crews a stable edge to work from later. A sloppy boundary does the opposite: people step through it, doors stay open, and the contaminated area spreads into carpets, baseboards, and hallways.
This page is about physical containment only. It does not cover stopping the backup, the first 15 minutes after the event, or disinfection after cleanup. For tools that support the rest of the job, the sewage cleanup tools hub is the right next stop.
What you need first: the barrier materials and a clear route
You need plastic sheeting, tape, scissors or a utility knife, and a way to keep people away for at least 24 hours if cleanup cannot start right away. A roll of 6-mil poly is the common choice because it resists tearing better than thin drop cloth material. You also need a plan for the doorway barrier so nobody has to guess where to enter or exit.
Start by choosing the edge of the zone. The boundary should include the visibly affected floor, any wet baseboard area, and a small buffer into the contaminated area. A 2- to 3-foot buffer is often practical for a small room because splash and foot tracking rarely stop exactly at the visible stain. If the damage is in a bathroom, the boundary usually begins at the door and covers the whole room. If it is in a basement utility area, the line may run along a hallway threshold or at the nearest closed doorway.
Think in terms of traffic. If someone must pass through the same hall every day, the containment plan needs a clear bypass path before the sheeting goes up. Therefore, a safe zone that blocks the only route through the house should be planned carefully so it does not create repeated shortcuts through the barrier.
Keep one trash bag, a marker, and a roll of paper towels nearby if you need to collect disposable edge material during setup. Do not drag loose rugs, laundry baskets, or pet items through the area. Every extra object becomes another contaminated surface.
How do you set up a containment zone around sewage damage?
You set it up by sealing the boundary, marking the entrance, and controlling airflow before anyone crosses the line. The order matters because each step makes the next one safer and easier.
- Clear the path to the contaminated area and stop casual traffic. Put the door, hall, or room boundary in plain view, then keep people, pets, and portable items out of that route. If this works, the area should look closed off before any plastic goes up.
- Lay the plastic sheeting from the top of the boundary down to the floor. Use one continuous sheet when possible so there are fewer seams. A typical doorway needs enough overlap to cover the frame and extend at least a few inches onto both sides of the wall. If it hangs flat and reaches the floor without gaps, the base is ready.
- Fasten the perimeter with tape. Put tape along the top edge first, then the sides, then the lower edge where foot traffic might tug the sheet. Duct tape holds well on painted trim and smooth surfaces; painter’s tape is better only for very light attachment. The result should be a sealed edge that does not flutter when a nearby door opens.
- Create a doorway barrier for the entry point. Use a zipper barrier or cut a vertical slit and overlap the plastic so the opening stays controlled. A doorway barrier should allow one person at a time and close immediately after use. If the entrance is obvious and self-contained, the zone is usable.
- Mark the contaminated area so nobody mistakes it for a temporary storage space. A simple sign, tape across the threshold, or a bright marker line works. The purpose is not decoration; it is to make access limits unmistakable in a hurry.
- Check the boundary from the adjacent room side. Look for gaps at the top corners, loose tape, or an open seam near the floor. If light or air passes through where it should not, so will contamination. Tighten the weak spots before leaving the zone alone.
A common mistake is building the barrier around the obvious mess and forgetting the path people use to reach it. That costs you because shoes, sleeves, and tool handles touch clean areas on the way in. The fix is to define the route first, then the room. When the route is set, the zone is easier to keep controlled.
How to isolate airflow so the damage does not travel
You isolate airflow by closing the room, controlling the doorway, and using negative air only when the setup supports it. Air movement matters because contaminated droplets and odors can move farther than the wet spot itself, especially when a fan, open window, or HVAC register is nearby.
Begin by shutting doors to adjacent rooms. If the contaminated area has a return vent or supply register, cover it only if doing so does not interfere with the building’s safe operation and if the cleanup plan calls for that step. The aim is to keep air from the damaged area from drifting into cleaner spaces. In many homes, the easiest control point is the doorway barrier itself.
Negative air means air is pulled from the contaminated area and exhausted elsewhere so the room stays under slight negative pressure. That setup is common in professional containment work because it helps keep air moving into the zone rather than out of it. A negative-air fan is not a casual add-on, though. It has to be matched to the space and vented correctly, or it simply pushes the problem around.
A simple way to think about it: if the room puffs outward when the door opens, airflow is wrong. If the door edge pulls inward slightly, the zone is closer to negative pressure. That is one reason pros use pressure differentials and not just plastic alone.
Do not use a box fan in a doorway as a substitute for actual containment. It can stir air through the rest of the house and move contamination into adjacent rooms. A fan is part of a system, not a shortcut.
If the zone is in a small bathroom or laundry room, airflow control may be as basic as a closed door, taped barrier, and no HVAC supply blowing into the space. If the damage covers a larger basement area, a professional containment setup is often more appropriate because a temporary barrier without airflow control can fail at the seams.
How to protect adjacent rooms from cross-contamination
Because the barrier is only one part of the job, you protect adjacent rooms by sealing the threshold, removing shared items, and keeping clean surfaces physically separate from the contaminated area. The goal is to stop transfer on shoes, hands, tools, and air, not just on the floor.
Start at the border room by room. If the sewage damage is in one bathroom, the adjacent room is usually the hallway. Put down a temporary path only if someone must pass through. Otherwise, leave that zone untouched and unopened. Every opening is a chance for residue to migrate.
If furniture, baskets, or storage bins sit just outside the damaged area, move them away by a few feet before setting the barrier. Anything that can collect dust or splash should leave the edge. Upholstered items are especially poor neighbors to a contaminated area because they hold moisture and particles in the fabric. For more setup ideas, the sewage cleanup tools hub can help you organize what stays in and what stays out.
Keep a hard line between clean and contaminated tools. If a broom, mop, or box is used inside the zone, it does not go back into the clean room without being handled as contaminated equipment. A simple label on the handle or a separate bucket helps prevent mistakes under pressure.
Floor protection in the adjacent room matters too. If the barrier edge sits on hardwood, tile, or laminate, keep tape residue and scuffing to a minimum by using the narrowest fastening method that still holds. If a temporary runner is used outside the zone, consult a restoration contractor or environmental health professional about whether it should be treated as disposable, and follow a source such as EPA guidance on containment and cleanup controls.
This is the part many generic guides miss: the biggest spread often happens outside the room, not inside it. One opened door, one dirty shoe, or one carried tote can turn a single contaminated area into a two-room cleanup. The EPA’s mold remediation guidance describes why sealing work areas matters, and OSHA’s lead-safe renovation guidance explains how dust control and barrier integrity reduce spread. Those sources are not about sewage specifically, but the containment principles are the same.
Common containment mistakes that make a sewage job larger
The biggest containment mistakes are leaving gaps, using the wrong tape, and opening the zone too often. Each one costs time because it expands the cleanup footprint and makes adjacent rooms harder to return to normal.
Thin plastic tears easily at the bottom edge. That matters when someone steps close to the threshold or bumps the barrier with a bucket. Use 6-mil plastic where possible, especially at a doorway barrier. Thinner material may look fine at first and fail after the first pass through the opening.
Another mistake is taping only the center of the sheet and leaving the corners loose. Corners lift first, then the rest of the edge follows. The fix is simple, but it still depends on the specific site: secure the perimeter top, sides, and bottom, and inspect the corners last, or consult a professional if the setup is difficult to seal.
A third mistake is treating the zone like storage. People set tools, boxes, or repair materials just inside the boundary because the room is “already dirty.” That approach makes the zone harder to control and creates an obstacle field for cleanup. The containment area should stay as clear as possible, and if the space has to hold materials temporarily, consult a professional about how to stage them safely.
Some homeowners also skip the adjacent rooms and focus only on the wet spot. That costs them because contamination does not respect room lines. Protecting the neighboring hallway or landing is part of the job, not a bonus step.
When not to improvise: if the sewage damage is extensive, the ceiling below is affected, or the contaminated area cannot be sealed without blocking a fire exit, the setup is beyond a simple household barrier. In that case, a restoration contractor or environmental health professional is the safer call. The containment zone still matters, but the design should match the risk.
For standards-based context on containment and indoor work practices, the EPA’s mold remediation guidance is useful because it describes sealing and isolating work areas, even though the contamination source here is different. OSHA’s lead-safe renovation guidance also explains why barrier integrity and dust control matter. Those sources are not about sewage specifically, but the containment principles are the same.
How long the containment zone should stay in place
The containment zone should stay in place until the contaminated area is ready for cleanup, not until the room “looks dry.” Dry-looking surfaces can still carry residue, and opening the barrier early sends debris into adjacent rooms.
If cleanup starts the same day, the zone may only need to hold for a short time. If removal will wait overnight, the barrier needs to stay intact, visible, and undisturbed. That means the tape, plastic, and doorway barrier should remain in place through the next traffic cycle, with no casual entries.
During that waiting period, inspect the barrier at least once after the first few hours. Look for peeling tape, a sagging bottom edge, or a gap at the doorway barrier. If the edge starts to fail, fix it from the clean side whenever possible so the contaminated area is not opened wider.
Do not assume a closed door alone is enough for a sewage event. A door blocks sightlines, not leakage. A containment zone adds the physical layer that a door cannot provide.
The right standard is simple: the zone should still be obviously sealed when someone returns to the area 12 hours later. If it no longer looks controlled, it is no longer doing its job.
For the next phase, the cleanup crew will need the zone to stay intact while they remove materials and disinfect surfaces. This page stops at containment on purpose; the barrier is the first defense, not the last step.
How do I keep sewage from spreading to other rooms?
Keep the boundary closed, protect the doorway, and avoid moving contaminated items through clean spaces. A 6-mil plastic barrier with a taped perimeter is better than a closed door alone. If you must walk through, use one controlled entry point and keep adjacent rooms closed. The fewer crossings the zone gets, the less likely the contamination is to spread.
Should I seal off the room after a backup?
Yes, if the room contains the damaged area and cleanup has not started yet. Seal it with plastic sheeting and a doorway barrier so people, pets, and airflow stay out. A closed door does not provide enough separation by itself. The main exception is a setup that would block an exit or create a larger safety hazard.
What counts as a contaminated zone?
The contaminated zone is the area with visible sewage damage plus the buffer you need to keep people and air from crossing into it. That usually includes the affected floor, nearby baseboards, and the immediate entry path if it was exposed. In practice, anything inside the barrier should be treated as part of the contaminated area until cleanup is complete, though a restoration contractor or environmental health professional can help define the boundary if the damage is extensive.
Drafted with AI; not yet reviewed by a person.