Last updated: September 10, 2026
Key Takeaways
- Ventilate the space for at least 30 minutes before starting.
- Use fans and, if possible, a dehumidifier for 24 to 48 hours.
- If the room is still damp after 48 hours, something is still holding moisture.
- On hard surfaces, spray or wipe enough product to keep the surface wet for the full contact time on the label, often 5 to 10 minutes.
A sewage backup is not a “wipe it down and move on” job. If you need to how disinfect home after sewage backup, the first move is to strip out contaminated material, clean what can be saved, and disinfect only the hard, nonporous pieces that made it through the mess. I’m writing for a homeowner or renter dealing with a toilet overflow, a floor drain backup, or a main-line backup from a basement or bathroom, with basic cleanup supplies, rubber gloves, and access to hot water already on hand. Not for everyone, though. If sewage reached the HVAC system, soaked drywall higher than a few inches, or sat there for more than 24 hours without cleanup, that’s usually a licensed restoration-company problem because hidden contamination and structural damage take over fast. For how disinfect home after sewage backup, the safest route is still the label on an EPA-registered product; if the damage is widespread or sewage is still flowing, call a plumber or restoration professional. According to the EPA and CDC, sewage cleanup should prioritize removal, washing, disinfection, and thorough drying.
What sewage backup changes about cleanup
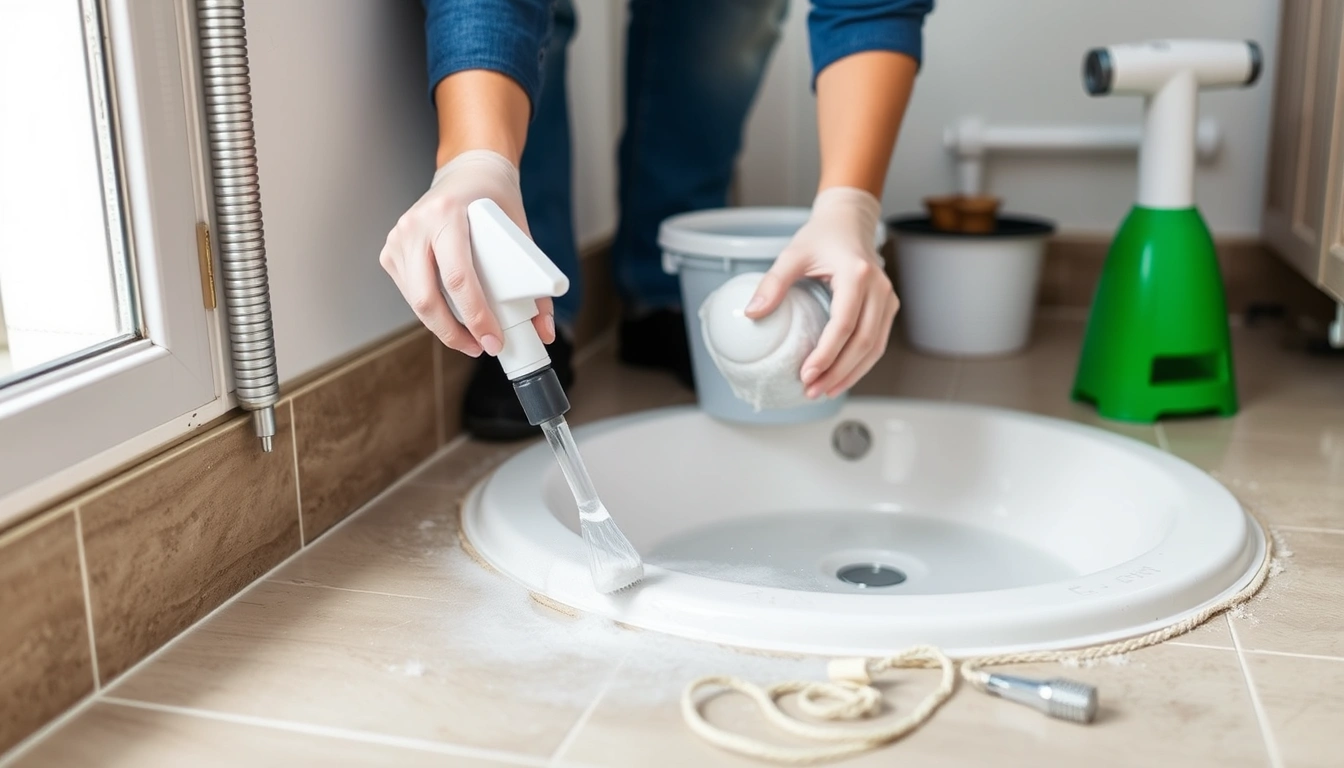
Sewage backup is not ordinary dirt. It can carry bacteria, viruses, parasites, and a lot of organic waste that clings to porous materials. So the sequence matters: remove solids first, wash second, disinfect third, dry last. Reverse it, and you just smear the problem around.
My rule is plain: if a material can absorb wastewater, treat it as suspect. Not sure whether it can be saved? Consult a restoration professional. Carpet, carpet pad, drywall, insulation, fiberboard, upholstered furniture, and unfinished wood usually do not get “disinfected” back into safe condition after real sewage exposure. They often need removal. Hard, nonporous materials such as glazed tile, sealed concrete, metal, and intact plastic are the ones you can usually salvage.
Before you touch anything, assume the area is contaminated at least 10 feet beyond visible sewage splash if the backup was spread by flowing water or toilet overflow. That is not a magic distance; it is a practical buffer because droplets and foot traffic carry waste farther than the obvious stain. Shut off the affected area if you can do so without walking through the mess. Keep children, pets, and anyone with a weakened immune system away until the job is finished and the area is dry.
I would not treat this as a simple mop-up if you have sewage coming from multiple drains, a floor drain that keeps refilling, or any sign that wastewater entered wall cavities. In that case, call a plumber or restoration company before you go further. Stop and escalate. That is the move.
What should I clean first after sewage backup?
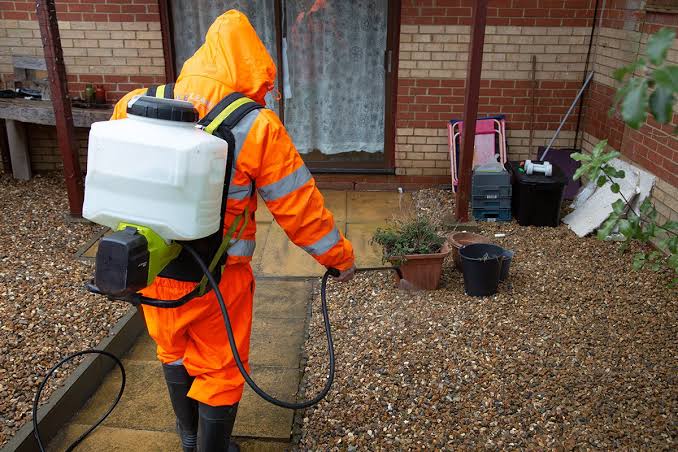
Start with dry removal, then wash, then disinfect. The first pass is about getting rid of the bulk waste without aerosolizing it. Put on disposable nitrile gloves, waterproof boots, and ideally eye protection. If the space is enclosed and the air is foul, a respirator with P100 or at least N95 filtration is a better choice than a paper dust mask, especially while you are scrubbing or moving contaminated items.
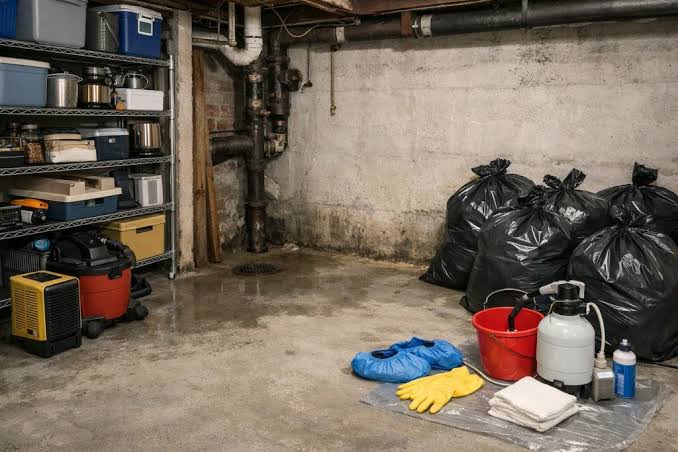
Use cardboard, disposable scoops, or thick paper towels to lift solids into heavy-duty trash bags. Do not use a vacuum unless it is a wet/dry model meant for this kind of work and you are prepared to disinfect the machine afterward; a household upright vacuum will spread contamination through the machine and the room. Bag all disposable materials at least double-bagged, then seal them before carrying them out.
Next, wash the hard surfaces with detergent and warm water. This step matters because disinfectants work poorly through grime and film. A 2-bucket approach helps: one bucket for the dirty wash solution, one for the rinse water. Change both if they become visibly dirty. Use clean rags or disposable wipes and keep the area from drying out while you are scrubbing. Nasty, yes. Necessary, definitely.
Only after visible soil is gone should you apply a disinfectant. For many households, a bleach solution mixed according to the label is the common choice, but the label matters because bleach strength varies and the wrong dilution can be either ineffective or unsafe. A product that is EPA-registered and labeled for sewage or fecal contamination is better than a vague “kitchen cleaner.” Follow the contact time on the label, often 5 to 10 minutes, because a quick wipe does not disinfect anything. If the label says the surface must stay wet, keep it wet for that full time. For how disinfect home after sewage backup, the CDC advises cleaning first, then disinfecting with a product that matches the surface and contamination.
How do I disinfect the hard surfaces step by step?
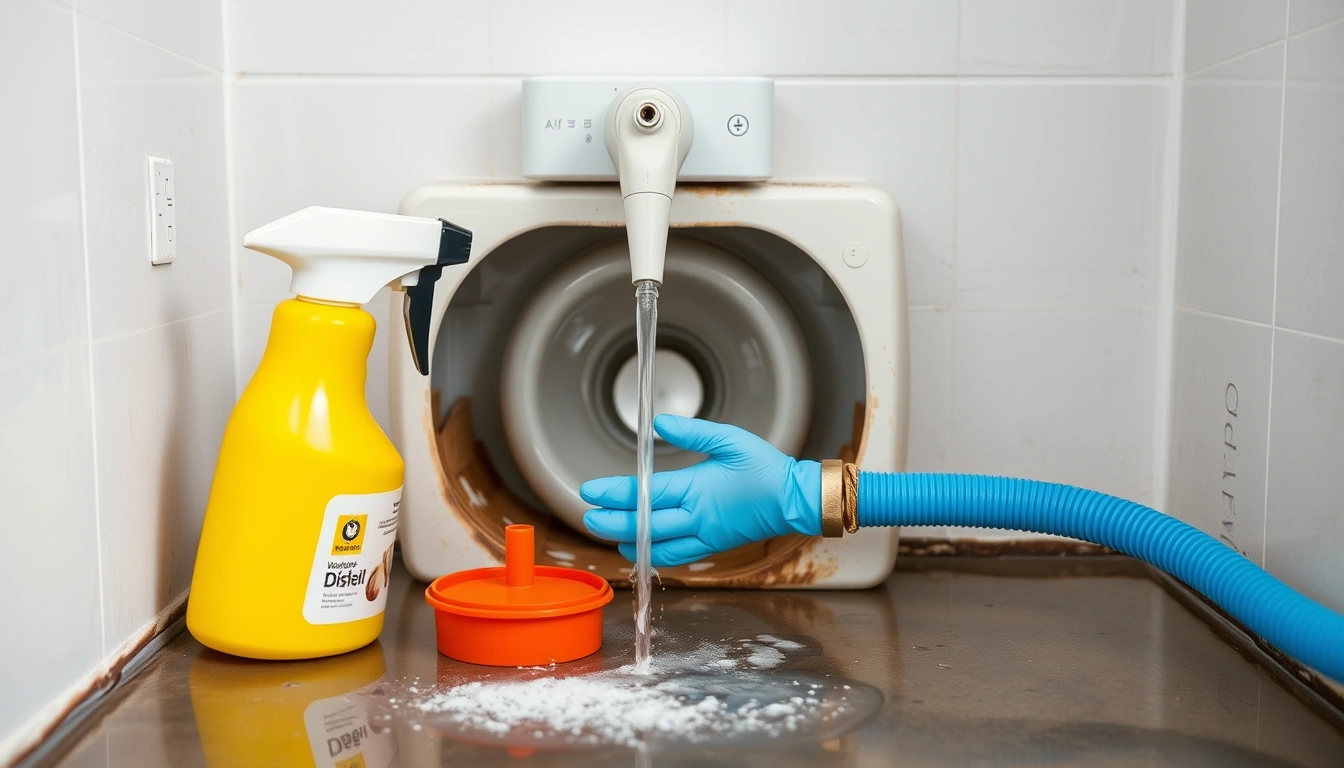
Use a sequence that protects you, the surface, and the rest of the house.
- Ventilate the space for at least 30 minutes before starting. Open exterior windows and run fans blowing out of the room, not across the house. Verify you can feel air moving out of the affected room. If the odor worsens in other rooms, your airflow is wrong and you may be spreading contamination.
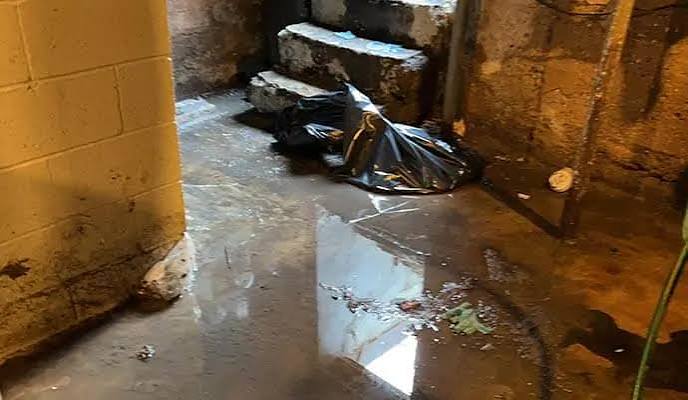
- Remove all standing liquid and solids first. Use a wet/dry vacuum, absorbent pads, or towels to lift visible sewage into sealed bags. Verify the floor is no longer slick with waste. If there is still pooled liquid after one pass, the contamination is deeper than surface level and you need more extraction before disinfecting.
- Discard porous materials that were soaked. Cut out carpet, pad, insulation, and drywall that absorbed sewage. A practical rule is that drywall that has wicked moisture above the baseboard line or any insulation that got wet should come out. Verify the cut edges are clean and that there is no damp cavity. If a wall cavity still smells strongly or feels damp after removal, hidden contamination remains.
- Wash all salvageable surfaces with detergent and warm water. Scrub with a brush or disposable cloth, rinsing often. Verify you have removed all visible film and staining. If a surface still feels greasy or slimy, disinfectant will be less effective and you need another wash pass.
- Apply an EPA-registered disinfectant exactly as labeled. On hard surfaces, spray or wipe enough product to keep the surface wet for the full contact time on the label, often 5 to 10 minutes. Verify the surface stays wet for the full period. If it dries too fast, apply more product or work in smaller sections.
- Rinse food-contact and skin-contact surfaces after the contact time if the label requires it. Countertops, tabletops, and any surface that will touch dishes or hands often need a clean-water rinse. Verify there is no bleach odor or residue left behind. If residue remains, rinse again with clean water and a separate cloth.
- Dry the area completely. Use fans and, if possible, a dehumidifier for 24 to 48 hours. Verify surfaces feel dry to the touch and that no condensation appears on cooler surfaces. If the area still feels damp after a day, you may have trapped moisture behind baseboards, under flooring, or inside walls.
- Dispose of contaminated PPE and cleanup materials safely. Bag gloves, rags, disposable coveralls, and absorbents before leaving the area. Verify bags are sealed and carried out without brushing against clean surfaces. If you track residue into a hallway or another room, stop and clean that path before continuing.
For disinfection chemistry, follow the label rather than guessing. EPA-registered products are labeled with the organism range and use instructions. A generic household cleaner is not the same thing as a disinfectant. If you use bleach, never mix it with ammonia, vinegar, or acids; that can release toxic gas. If a disinfectant label conflicts with another cleaner, the label wins. According to the EPA, registered disinfectants are the right choice for claims about sewage or fecal contamination.
I also want to be blunt about what “good enough” looks like: the surface should be free of visible waste, free of slime, and allowed to dry fully. A faint odor can linger from building materials, but persistent sewage smell after cleaning often means contamination remains in hidden material.
Which materials can be saved, and which should go?
Hard, nonporous materials can often be cleaned; porous materials that soaked sewage usually should be removed. That distinction saves time and prevents false confidence. Tile, sealed concrete, metal fixtures, plastic bins, and some sealed hardwood can often be cleaned and disinfected. Unsealed grout and cracked caulk are trickier because they can hold residue in tiny gaps.
I would be cautious with engineered wood, laminate flooring, and baseboards. Even when they look intact, their seams and backing layers can absorb wastewater. If the swelling is visible or the edge veneer has lifted, replacement is usually the better call. The same goes for hollow-core doors and particleboard cabinets in a flooded bathroom or basement.
Drywall is especially unforgiving. It wicks moisture like a sponge, and once sewage gets into the paper facing and gypsum core, disinfectant on the surface does not reach the interior. Cut it out at least 12 inches above the highest visible water line if the contamination spread upward, and remove any insulation behind it. Not decorative advice. That is how you stop odor and microbial growth from living inside the wall.
If the backup was minor and limited to a smooth porcelain toilet base or a sealed tile floor, the cleanup is much more manageable. If it reached carpet, subfloor, or wall cavities, I would shift from “clean it myself” to “remove what was contaminated and call a remediation company for the rest.” That is the right move, not a failure. For how disinfect home after sewage backup, the rule is simple: salvage only what can truly be cleaned, and replace what absorbed sewage.
When should I stop and call for help?
Stop and bring in a restoration company or plumber when the backup is bigger than a surface spill or when the contamination has had time to spread. The following situations change the job entirely:
Sewage reached drywall, insulation, or ceiling cavities: those materials trap contamination where surface disinfection cannot reach — remove the affected material and get professional assessment of the cavity.
The backup is from the main sewer line and keeps returning: that means the source is still active — stop cleaning and call a plumber first, because more wastewater will undo the cleanup.
The affected area includes carpet pad, upholstered furniture, or particleboard cabinets: these materials usually retain contamination — remove and discard them rather than trying to disinfect through them.
The sewage was present for more than 24 hours before cleanup began: prolonged dampness increases contamination and odor in hidden layers — get qualified help, especially if walls or floors were saturated.
Anyone in the home is immunocompromised, pregnant, or very young: the tolerance for residual contamination is lower — leave the area closed off until it has been professionally cleaned and dried.
You see mold growth, soft flooring, or buckling subfloor after the cleanup: that points to trapped moisture and possible structural damage — stop and inspect under the finished surface.
The smell returns after drying: residual waste is likely trapped in material you did not remove — open the affected area further or bring in a remediation crew.
In these cases, the cost of guessing is usually worse than the cost of help. A “mostly cleaned” sewer backup can turn into a recurring odor or microbial problem for months. If you are unsure whether the damage is beyond surface cleanup, consult a licensed restoration professional.
The mistakes people actually make, and what they cost
The biggest mistake is skipping the removal step and going straight to disinfectant. That leaves fecal matter, toilet paper, and slime in place, and the disinfectant cannot reach what it needs to kill. The fix is to physically remove visible waste first.
Another common error is using too little contact time. People spray, wipe, and move on in under a minute. That is cleaning, not disinfection. The correct alternative is to keep the surface visibly wet for the full label time, often 5 to 10 minutes.
A third mistake is mixing chemicals. Bleach plus ammonia, vinegar, or acidic cleaners can create dangerous fumes. Use one product at a time, rinse if needed, and read the label. If you already mixed products and feel throat or eye irritation, leave the area immediately and ventilate it.
A fourth mistake is keeping salvageable-looking porous items. A chair, rug, or drywall panel may look fine after drying, but that does not mean it is safe. If it absorbed sewage, replacement is usually the healthier choice.
A fifth error is drying too slowly. Leaving damp materials in place for days gives odor and mold time to settle in. Use fans, dehumidifiers, and open windows where weather allows. If the room is still damp after 48 hours, something is still holding moisture.
A final mistake is forgetting hidden paths: under baseboards, behind toe-kicks, inside vanity cabinets, and under toilet flanges. Those spots are small, but sewage loves gaps. Clean and inspect them with a flashlight, not just by smell. Tiny corners. Big trouble.
What changes if the backup is in a basement, bathroom, or kitchen?
The location changes what you remove first and where contamination hides. In a basement, unfinished concrete is often salvageable, but stored cardboard boxes, rugs, and drywall around the perimeter usually are not. I would start by clearing out everything at floor level so you can see where the water actually went. Basements also hide contamination in furnace rooms, around water heaters, and behind stored items, so check those edges before you close the area up.
In a bathroom, toilet base seals, vanity toe-kicks, and caulk lines are the weak points. If sewage came up through the toilet, the wax ring or flange may be compromised, which means the toilet may need to come off before the area is truly clean. If you smell sewage after the visible cleanup, that joint is a suspect.
In a kitchen, the concern is food safety and porous cabinets. Any food, open package, dish towel, or sponge that touched contaminated water should be thrown out. Lower cabinets built from particleboard can swell and wick contamination through the toe-kick area. Countertops made of sealed stone or laminate may be cleanable if the seams stayed intact, but the cabinet boxes behind them may not be.
If the backup entered an HVAC return, I would not handle the cleanup as a normal household task. That is a circulation problem. Ducts, filters, and air handlers can spread contamination through the house, and the right answer may involve duct cleaning, component replacement, and a professional inspection. For how disinfect home after sewage backup, HVAC contamination is one of the clearest signs to stop and call for help.
FAQ
Can I just use bleach to disinfect everything?
No. Bleach works only after you remove visible sewage and wash the surface first. It is also not appropriate for every material, and the label may require a specific dilution and contact time. The EPA and CDC both recommend following the product label and surface type.
Do I need to throw away all my cleaning tools afterward?
Not always, but any disposable tool that touched sewage should be bagged and discarded. Reusable tools need to be cleaned and disinfected after use, and some porous tools are better thrown out than saved.
How long should I keep the area closed off?
Keep it closed until the surfaces are dry, the odor is gone or clearly tied to a removed material, and you have confirmed there is no ongoing leak or backup. If you cannot verify that, consult a professional before reopening it.