Last updated: September 10, 2026
Key Takeaways
- Water can wick under baseboards, into underlayment, and behind drywall 12 to 24 inches above the wet line.
- Cut out wet drywall, insulation, carpet pad, and other porous items that were saturated, often at least 12 inches above the highest visible water line.
- Use dehumidifiers and directed airflow for 24 to 72 hours or longer, depending on the materials and room size.
- A 100-square-foot sewage event in a carpeted family room can involve more removal than a larger spill on bare concrete.
- For guidance on contaminated-water cleanup and ventilation, see the CDC and EPA resources below.
A sewage backup cleanup begins the moment you stop more wastewater from entering, not when the mop comes out. Then comes the messy part: remove contaminated water, clean every surface sewage touched, and disinfect the lot. If the backup reached more than one drain, sat for more than a few hours, or soaked drywall, insulation, or subfloor, I would treat it as a serious contamination job. And I would call a qualified plumber or remediation professional before trying to handle it yourself.
Table of Contents
- Who this is for, and what you already need to know
- What sewage backup cleanup actually involves
- How do you clean up sewage backup step by step?
- What should be removed, and what can stay?
- When should you stop and call in qualified help?
- The mistakes people make, and what they cost
- How long does sewage backup cleanup take, and what does done look like?
Who this is for, and what you already need to know
This is for a homeowner or tenant dealing with a toilet overflow, floor drain backup, or a basement sewer backup where the water is dark, smells like wastewater, or has visible debris. It assumes you can shut off water to the affected fixture, keep people and pets out of the area, and tell whether the source is a toilet, a branch line, or the main sewer line. If the backup is still active, if sewage is coming up through multiple fixtures, or if the home has a finished basement with wall cavities and carpet padding, the cleanup is already beyond a simple household wipe-down.
I would not call this a normal leak. Not even close. Sewage is contaminated water, and the cleanup has to follow a sequence: isolate, remove, clean, disinfect, dry, then inspect hidden materials. The key term is black water, which means wastewater that may contain sewage and disease-causing organisms. If you are dealing with black water, I would use the same caution you would use for a contaminated spill in a utility room, not kitchen cleanup. For more on sewage and sanitation, see the CDC’s flood cleanup guidance and the EPA’s household wastewater resources.
A DIY approach can make sense for a small, contained backup on a hard surface, such as a tile floor with a minor toilet overflow, if you can keep the area isolated and you have basic protective gear. But it is the wrong move if the sewage has reached HVAC ducts, electrical outlets, insulation, or porous materials such as carpet pad and particleboard. The job also changes if the backup came from a municipal main versus a clog on your side of the line, because the source changes what gets cleaned and what gets repaired.
If you are unsure which drain failed, treat the scene as contaminated and stop normal use of water until a plumber or qualified professional clears the line. A backup that moves through a 2-inch or 4-inch drain line can spread farther than the visible puddle. Sneaky thing.
What sewage backup cleanup actually involves
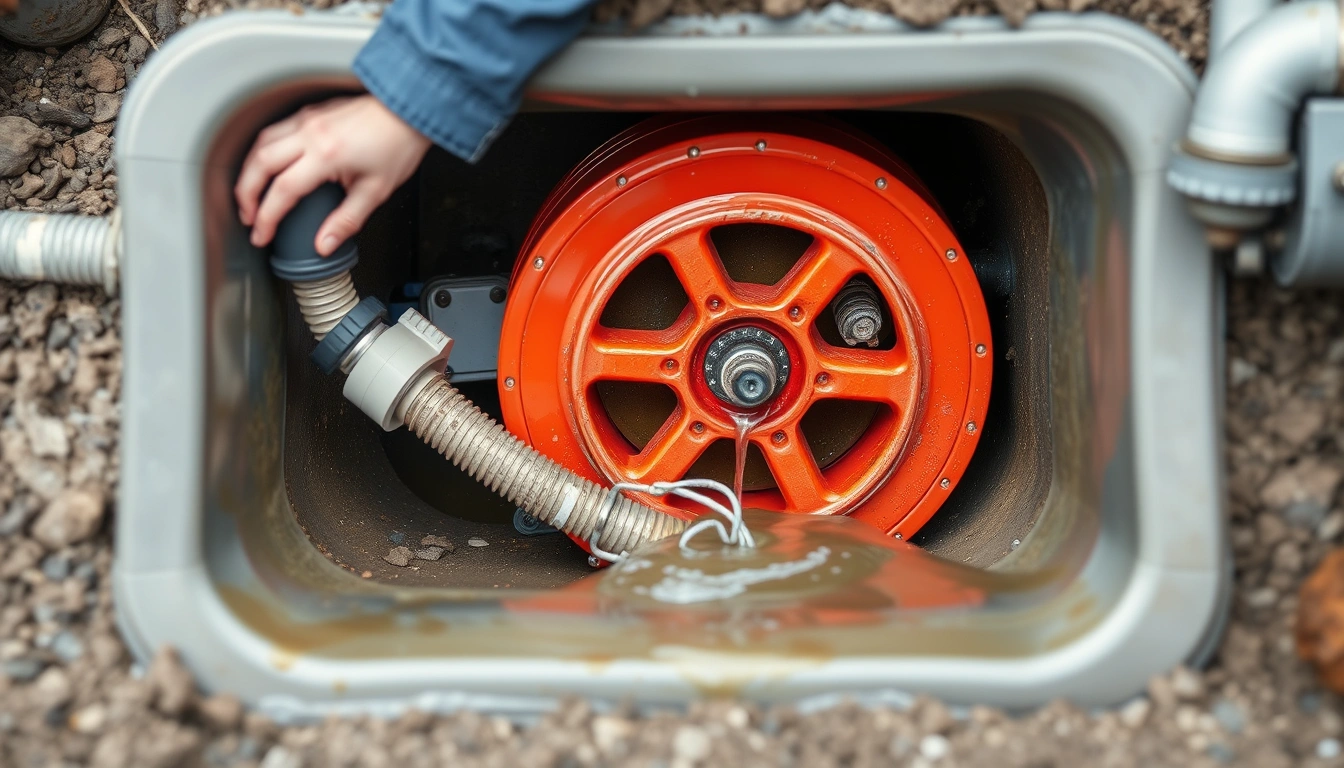
Sewage backup cleanup is a controlled removal-and-restoration process, not one pass with a disinfectant. The order matters. You cannot disinfect through sludge, and you cannot dry what still has contaminated water trapped in it. I would think of it in five layers: source control, extraction, cleaning, disinfection, and drying.
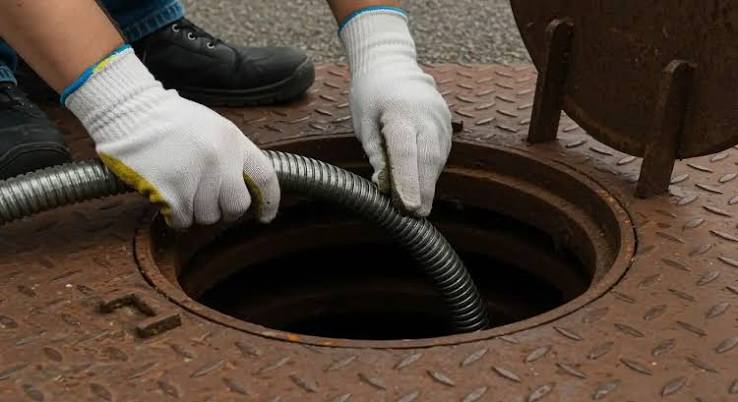
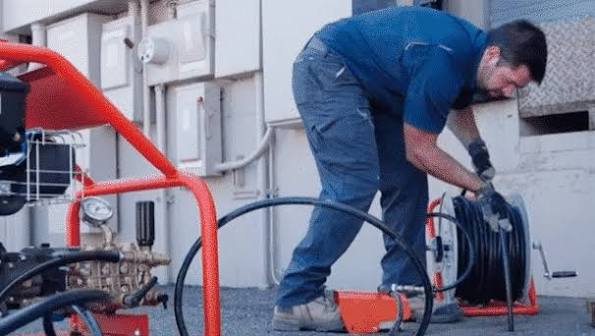
Usually, the job starts with a plumber or sewer line technician clearing the blockage or repairing the failed part of the line. Without that step, cleanup is temporary because the same wastewater can come back through the floor drain or toilet base. Once the source is stopped, the cleanup crew documents the affected rooms, removes standing water, and sorts materials into three categories: salvageable hard surfaces, porous materials that are usually removed, and hidden cavities that must be opened and dried.
The part many people miss is that sewage does not stop at the visible edge. Water can wick under baseboards, into underlayment, and behind drywall 12 to 24 inches above the wet line. That is why a proper cleanup often includes flood cuts in drywall, removal of soaked insulation, and lifting carpet and pad. A surface that looks dry can still hide contamination in seams, tack strips, or the bottom plate of a wall. Looks can lie.
I would also expect a sanitation step using an EPA-registered disinfectant labeled for sewage cleanup, applied to a clean surface at the contact time listed on the label. “Contact time” means the wet period the disinfectant needs to remain on the surface to work. If the surface is still dirty, or the disinfectant dries early, it did not do its job.
The final stage is drying with dehumidification and air movement, then verification. That means checking moisture in wood, drywall, and framing, not just feeling the floor with your hand. If moisture remains in framing members or underlayment, odors and microbial growth can return even after a spotless-looking surface cleanup. For drying targets and moisture control, the Institute of Inspection, Cleaning and Restoration Certification (IICRC) and the EPA both emphasize verifying hidden moisture, not just surface dryness.
How do you clean up sewage backup step by step?
Stop the source first. Then clean. That is the order.
- Stop the source and isolate the room. Shut off water to the affected fixture or the home’s main if the fixture keeps refilling, and keep people out of the area for at least 24 hours. Verify that no new wastewater is entering and that toilets, floor drains, or tubs have stopped rising. If sewage keeps coming in, the blockage or line failure is still active.
- Put on protective gear before touching anything. Use nitrile or rubber gloves, waterproof boots, eye protection, and a properly fitted respirator if splashing or aerosolizing is likely. Verify that skin, eyes, and clothing are covered. If you only have thin household gloves, that is not enough for black water. For PPE basics, see OSHA guidance on hazard protection and respiratory safety.
- Ventilate safely without spreading contamination. Open windows if weather allows and run exhaust or drying equipment after the contaminated water is removed. Verify that airflow is moving out of the room and not pushing air into clean living areas. If the smell spreads through the house, the air path is wrong.
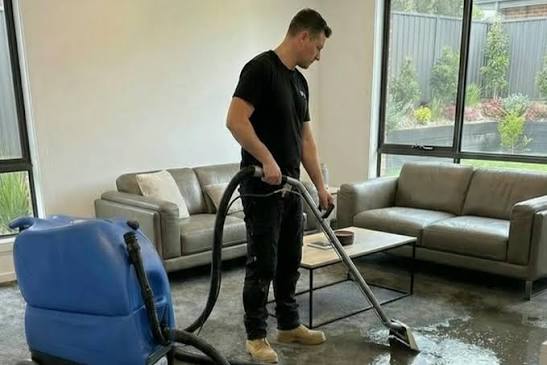
- Remove standing water with a wet vac, pump, or extraction machine. Extract until only a damp film remains on the floor. Verify that no visible pools are left in corners, under cabinets, or along the base of walls. If the vacuum pulls solids that clog the hose repeatedly, the source material has not been pre-scooped and needs manual removal first.
- Scoop solids and bag contaminated debris. Use disposable scoops, rags, or shovels for fecal matter, paper, and sludge, then double-bag waste in heavy trash bags. Verify that no loose debris remains on the floor or in joints. If the debris is embedded in carpet or padding, that material is usually not salvageable.
- Remove porous materials that absorbed sewage. Cut out wet drywall, insulation, carpet pad, and other porous items that were saturated, often at least 12 inches above the highest visible water line. Verify that framing, subfloor, or concrete is exposed where needed. If the material still smells after a first pass, do not assume it can be saved.
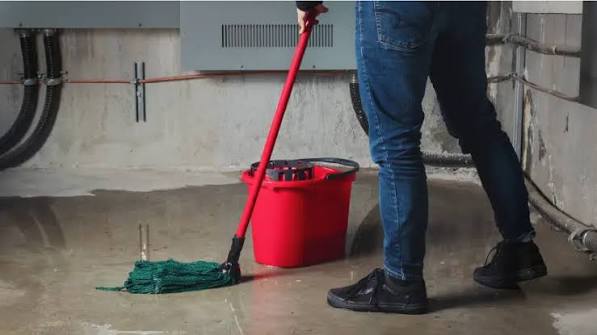
- Wash the hard surfaces first. Scrub floors, baseboards, framing, and fixtures with detergent and clean water before disinfecting. Verify that slime, soil, and residue are gone. If you spray disinfectant onto dirty sludge, the disinfectant cannot contact the surface properly.
- Disinfect with the correct product and contact time. Apply an EPA-registered disinfectant approved for sewage or biohazard cleanup, following the label exactly, including dilution and wet time, which is often 5 to 10 minutes but must come from the label. Verify that the surface stays visibly wet for the full contact period. If it dries early, reapply or the disinfection is incomplete.
- Dry the structure aggressively. Use dehumidifiers and directed airflow for 24 to 72 hours or longer, depending on the materials and room size. Verify dryness with a moisture meter on framing, subfloor, and wall bases. If readings stay elevated or odors linger, hidden material is still wet.
- Inspect hidden cavities and finish restoration only after verification. Check behind baseboards, inside wall cavities, under cabinets, and around the toilet flange or floor drain. Verify that no staining, swelling, or dampness remains before closing the wall or reinstalling flooring. If the drywall edge or subfloor is soft, it needs more removal, not more deodorizer.
The biggest technical mistake is skipping the cleaning stage and going straight to bleach. Bleach is not a substitute for removing soil, and on some materials it can damage finishes without solving the contamination problem. I would choose a label-approved disinfectant after the surface is cleaned, not before. For cleaner label guidance, the EPA’s disinfectant labeling rules are the standard reference.
What should be removed, and what can stay?
Porous materials touched by sewage usually need to come out, while nonporous surfaces can often be cleaned and disinfected. That is the basic rule, and it saves time because it prevents false hope about materials that trap contamination.
Carpet and carpet pad are the clearest example. The top carpet layer may sometimes be cleaned in limited cases if the contamination is minor and the water is removed quickly, but the pad beneath it usually acts like a sponge and is hard to disinfect completely. Drywall below the contamination line is another frequent loss. If sewage hit drywall, I would expect at least the bottom section to be cut out, because gypsum core and paper facing absorb moisture and odor. Insulation often comes out once it is wet with black water, because wet insulation can hold contamination and dry poorly.
Hard, sealed materials such as ceramic tile, sealed concrete, metal, and some solid-surface countertops are usually salvageable if cleaned promptly and dried fully. Wood is more complicated. Painted trim may survive if the paint coating stayed intact and the exposure was brief, but swollen baseboards, cupped hardwood, and particleboard cabinets often do not. Particleboard swells fast and loses structural integrity when wet, even if it looks acceptable at first glance. That part is ugly, honestly.
The line I use is this: if a material is porous, fibrous, or layered, I assume it traps contamination unless proven otherwise. That is why a finished basement can be more expensive to restore than an unfinished slab room, even when the visible spill is the same size. A 100-square-foot sewage event in a carpeted family room can involve more removal than a larger spill on bare concrete.
When should you stop and call in qualified help?
Stop DIY cleanup when the contamination is active, widespread, hidden, or tied to structural systems. This is one of those jobs where the wrong choice can spread waste into walls, ducts, and adjacent rooms.
Sewage is still backing up from multiple fixtures: This points to a main line or building drain problem, not a local spill — stop water use and bring in a plumber and cleanup crew before more waste enters the space.
The backup reached HVAC vents, returns, or duct insulation: Air movement can carry odor and contamination through the house — stop and have the ductwork inspected and cleaned or removed as needed.
Water entered wall cavities higher than 12 to 24 inches: Hidden wet framing and insulation can hold contamination out of sight — open the wall, remove wet materials, and verify dryness before rebuilding.
There is sewage under cabinets, built-ins, or finished flooring seams: Waste can remain trapped in cavities and underlayment — remove the affected finish materials rather than trying to sanitize through them.
The affected area includes electrical outlets, power strips, or appliances: This creates shock and fire risk — shut off power to the room if needed and have the electrical system checked before cleanup continues.
Anyone in the home is immunocompromised, elderly, pregnant, or very young: The health risk rises with exposure to contaminated aerosols and residues — limit access and use qualified remediation help rather than a household cleanup.
Because that risk can persist in hidden materials, I would also stop if the odor is strong enough to linger after the room is washed and dried for 48 hours. Persistent odor often means hidden contamination in base plates, trim cavities, or trapped underlayment. At that point, deodorizer is a cover-up, not a fix.
The mistakes people make, and what they cost
The first mistake is using a shop vacuum on solids without pre-cleaning. That clogs the vacuum, spreads residue inside the machine, and can aerosolize contaminated droplets. The better move is to scoop solids first, then extract liquids.
The second mistake is keeping carpet pad “because it looks almost dry.” Carpet pad contaminated by sewage is usually not worth saving. Leaving it in place traps odor and microbes, and the floor may fail to dry evenly. The correct move is to remove the pad and inspect the subfloor.
The third mistake is applying bleach to everything. Bleach can discolor or damage some finishes, and it does not replace detergent cleaning. The correct sequence is wash, rinse if needed, then disinfect with a product labeled for the surface.
The fourth mistake is drying only what you can see. A room can feel dry in 8 hours and still have wet framing at the base of a wall. The correct alternative is to use a moisture meter or have one used, because the hidden readings matter more than the surface feel.
The fifth mistake is reopening the room too early. If the cleanup ends before the structure is dry, odor and microbial growth return. I would not reinstall flooring or close drywall until the moisture readings are normal for the material and the source problem is fixed.
The sixth mistake is forgetting disposal rules. Sewage-soaked debris may need to be bagged and removed according to local waste rules, not simply left at the curb in open piles. The correct approach is to contain the waste in sealed bags and follow local disposal guidance.
How long does sewage backup cleanup take, and what does done look like?
A small, contained sewage cleanup can take several hours, while a larger basement event can take 2 to 5 days before drying and verification are complete. The exact timeline depends on how far water traveled, whether porous materials were affected, and whether the source line was repaired the same day.
A good result looks boring. Floors are clean, not fragrant. Walls are open only where needed. No dampness remains at the base of framing. No stained insulation is hidden behind a fresh coat of paint. The room does not smell like a deodorizer trying to hide a problem. If the area is restored and the source line is fixed, you should be able to use the room without noticing lingering odor when the HVAC turns on or when humidity rises.
I would not call the job done just because the surface is dry. It is done when the cleaned structure has no visible residue, the moisture readings are back to normal for the material, and the source of the backup has been addressed. That last part matters. A perfect cleanup after a broken line is only half the story.