Last updated: September 10, 2026
Key Takeaways
- The first 15 minutes matter more than the perfect cleaning product.
- Confirm no new water is entering the area for at least 10 minutes.
- Many products specify 5 to 10 minutes, but the label controls.
- In a basement, inspect the bottom 12 inches of drywall and any tack strips where carpet was present.
Sewage backup cleanup starts with containment, not mopping. Stop using the plumbing. Keep people out. Then strip out anything porous that touched the waste. This sewage backup cleanup checklist for homeowners lays out the order that matters after a toilet overflow, floor drain backup, or sewer backup has already happened, with a focus on what can be cleaned, what should be tossed, and when to stop and call help. If the backup came from a toilet, floor drain, or main line and the water is more than a small, isolated spill, the safest move is usually to treat it like contamination, not like a mop-up job.
Who this checklist is for
This checklist is for a homeowner dealing with a toilet overflow, floor drain backup, or basement sewer backup that has already happened and is not still actively flooding. It assumes you can shut off water to a fixture, identify the affected room, and get out safely if the smell or splash risk is bad enough to make you gag. It also assumes you know the difference between clean water, gray water, and black water: black water is sewage, and that term means water contaminated with feces, urine, or drain waste.
I am not writing this for a ceiling collapse, live electrical hazard, gas smell, or a backup that is still rising. No chance. In those cases, the first move is not cleanup. It is to stop exposure and get the right help. If sewage reached an HVAC return, soaked a large section of carpet and pad, or traveled behind walls, the cleanup shifts from household work to remediation work because porous materials and hidden cavities hold contamination. A dehumidifier and bleach spray do not fix that kind of spread.
The checklist also assumes you have basic supplies: nitrile or rubber gloves, disposable masks or a respirator rated for nuisance dust at minimum, heavy trash bags, a mop or disposable absorbent pads, a bucket, and access to hot water and detergent. A homeowner can handle a small, contained backup on a hard surface. But a homeowner should not try to “save” sewage-soaked drywall, carpet pad, insulation, or upholstered furniture just because the surface looks dry after an hour. If the contaminated area is larger than about 10 square feet, or if the backup came up through multiple fixtures, I would stop treating it as a simple DIY cleanup and would consult a professional restoration contractor or plumber.
The real question is not “how do I disinfect everything?” It is “what can be removed, what can be cleaned, and what must be discarded?” That order matters.
For official cleanup guidance, see the CDC’s Cleaning and Sanitizing with Bleach and the EPA’s Flood Cleanup to Protect Indoor Air and Your Home; both emphasize removal of soil and contaminated porous materials before disinfection.
What you need to do before you touch anything
Stop the source. Isolate the room. Keep the contamination from spreading before you start scrubbing. The first 15 minutes matter more than the perfect cleaning product.
Start by stopping water flow to the fixture or the house if water is still feeding the backup. If a toilet overflowed, do not keep flushing. If a floor drain or lower-level fixture is backing up, avoid running washing machines, dishwashers, or sinks until the blockage is cleared. Confirm no new water is entering the area for at least 10 minutes. If it is, the problem is still active and cleaning will fail.
Turn off electricity to the affected area at the breaker if water reached outlets, baseboard heaters, extension cords, or appliances. Confirm the circuit is dead before stepping in if you need to cross a wet floor. If you cannot safely reach the panel, do not wade in. Water and sewage near electricity is a stop sign, not a caution.
Keep children, pets, and anyone with asthma, COPD, immune suppression, or open cuts out of the area. That includes the person doing the cleanup if the smell or splash exposure is intense. Open windows if you can do so without blowing contamination through the house. Use a fan only if it pushes air out of the room, not across it.
Set up a “clean side” and a “dirty side.” The clean side is where gloves go on, bags go out, and tools stay uncontaminated. Put on disposable shoe covers if you have them. If not, use footwear you can disinfect or throw away. Verify you can enter and exit without tracking waste into hallways.
Take photos for your records before you remove damaged items. That matters for insurance and for anyone who may need to inspect the source of the backup. You do not need 20 photos; you need enough to show the room, the water line, and obvious damaged materials.
If the backup came from a main line and you are in a house with a cleanout, locate it only if you can do so without contact. A plumber may need that access point. If you do not know what a cleanout is, it is the capped access pipe used to inspect and clear a drain line.
According to the CDC’s Healthy Swimming and cleanup guidance, people should keep sewage exposure as limited as possible, and the EPA recommends preventing spread before starting any cleaning.
Sewage backup cleanup checklist: step by step
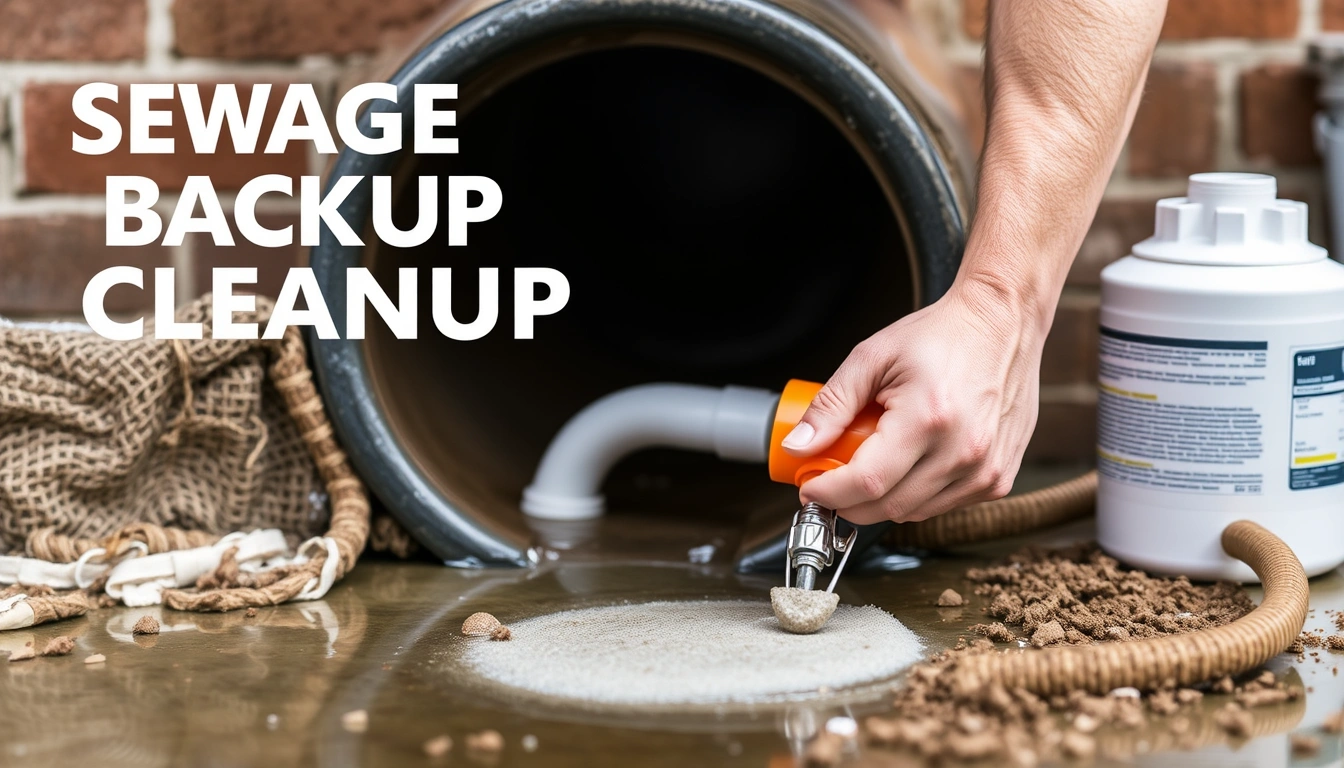
You clean sewage backup by removing contaminated porous material, washing hard surfaces with detergent, disinfecting after cleaning, drying fast, and checking for anything that still smells or feels damp. That sequence is the whole job in this sewage backup cleanup checklist for homeowners.
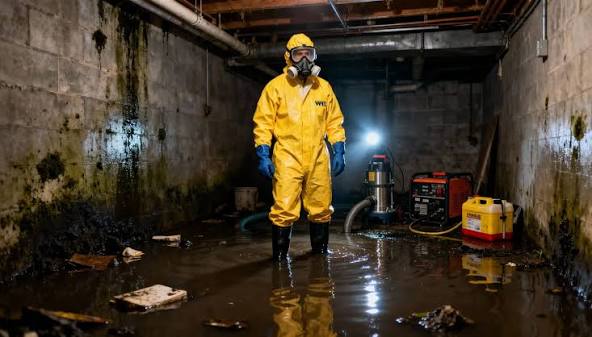
- Put on protective gear before entering. Wear nitrile or rubber gloves, long sleeves, long pants, and boots you can disinfect. If the cleanup is more than a few minutes or the odor is strong, use a well-fitting respirator or at least a mask that keeps splashes out of your mouth and nose. Verify that skin is covered at the wrists and ankles. If you can smell sewage sharply through your covering, the room needs more ventilation or less time inside.
- Remove standing liquid with disposable absorbent materials or a wet vacuum reserved for waste. Work from the outer edge toward the center and use 1 pass per area rather than pushing liquid around. Verify that the floor is no longer slick. If the liquid keeps seeping back from a drain, wall base, or seam, there is still active contamination behind the surface.
- Discard porous items that contacted sewage. Bag carpet padding, paper goods, cardboard, unfinished wood items that soaked through, and any fabric that cannot be fully hot-washed and sanitized. Seal bags before carrying them out. Verify that anything remaining is nonporous or only lightly splashed. If a couch cushion, rug, mattress, or drywall is soaked through, the problem is not cleanup-friendly; it is disposal or remediation.
- Wash hard surfaces with detergent and hot water. Scrub floors, baseboards, tile, sealed wood, and appliance exteriors with a detergent solution, changing the solution when it looks dirty. Aim for friction and coverage, not perfume. Verify that visible soil, film, and residue are gone. If the surface still feels greasy or tacky after washing, you have not removed enough organic material for disinfectant to work well.
- Disinfect the cleaned surface using the label instructions. Use a disinfectant that is appropriate for sewage cleanup and follow the listed contact time, which is the wet time the surface must stay visibly wet for the product to work. Many products specify 5 to 10 minutes, but the label controls. Verify that the surface stays wet for the full contact time. If it dries early, apply more. Never mix bleach with ammonia or other cleaners; that can create toxic gas.
- Rinse if the disinfectant label requires it. Some products call for rinsing on food-contact or pet-contact surfaces. Use clean water and clean cloths. Verify that no chemical residue remains where bare skin, shoes, or pet paws will touch. If the surface is sticky or cloudy after drying, you may have left behind cleaner residue or missed a rinse step.
- Dry the area fast and completely. Use fans to move air out of the room and a dehumidifier if humidity is high. Open access panels or move furniture to let air reach hidden edges. Verify that the floor, trim, and lower wall areas are dry to the touch within 24 to 48 hours. If drywall, wood, or subfloor still feels damp after a day, the moisture is in the structure, not just on the surface.
- Check hidden spaces and adjacent rooms. Inspect behind toilets, under cabinets, at wall edges, and in the room below if the backup was on an upper floor. Verify that no staining, swelling, or odor remains outside the obvious spill area. If odor lingers after drying, there may be contamination in underlayment, wall cavities, or the drain system itself.
- Wash hands, tools, and any reusable gear immediately. Remove gloves last, wash hands with soap and water for at least 20 seconds, and disinfect reusable tools after they leave the dirty area. Verify that no tool goes back into normal household use before it is cleaned. If your shoes or tools still carry visible residue, treat them as contaminated until they are cleaned or discarded, and consult a professional if you are unsure what can be safely salvaged.
That order is intentional. People often disinfect first and clean later, but disinfectant does not work well through soil. Keep one rule in mind: remove the waste, then clean, then disinfect, then dry.
For product selection and label contact time, the EPA’s List N explains why the label controls the wet time, and the CDC also stresses that cleaning must come before disinfection.
What gets thrown out, and what can stay
You throw out anything porous that cannot be fully cleaned and dried, and you keep only hard or sealed materials that can be washed without trapping waste inside them. That line sounds harsh, but it is where most homeowners either over-spend or under-clean in a sewage backup cleanup checklist for homeowners.
Carpet pad is the first thing I would discard if sewage reached it. Carpet itself may sometimes be salvageable if the contact was brief and the backing did not soak through, but that is a narrow exception. Padding is cheap compared with the smell and contamination risk it can hold. Drywall that wicked up sewage usually needs removal a few inches above the highest stain line. Insulation in a wall cavity is usually a loss. Particleboard cabinet bottoms, pressed wood, and swollen baseboards often fail later even if they look fine on day one.
Hard tile, sealed concrete, glazed porcelain, and metal usually stay if they can be cleaned and disinfected. Unsealed wood floors are a judgment call; if the boards cupped, swelled, or trapped liquid at the seams, replacement may be smarter than trying to rescue them. In a kitchen, take a hard look at toe kicks and cabinet interiors, which hide contamination at floor level. In a basement, inspect the bottom 12 inches of drywall and any tack strips where carpet was present.
This is where people waste money: they keep one “probably okay” cushion or rug because replacement feels painful, then live with odor for months. The opposite mistake is tearing out an entire room when only a small band near the floor was hit. A good rule is to treat anything you cannot scrub on all exposed sides as suspect, and to consult a restoration professional if the item is large, layered, or expensive enough that a mistake would cost more than replacement.
If you are unsure about a specific material, the question is not whether it looks clean after drying. The question is whether sewage could have entered pores, seams, or layers you cannot fully access. If yes, I would discard it. That position is conservative, but it is the right one for a biohazard cleanup in a home.
The EPA’s Flood Cleanup to Protect Indoor Air and Your Home and CDC cleanup guidance both support removing porous items that cannot be effectively cleaned.
When should I stop and call a pro?
You should stop and call a qualified restoration or plumbing pro when the backup is large, hidden, or still active, because the job has moved beyond surface cleanup. Here are the clearest stop points:
The backup came from multiple fixtures at once: That usually points to a main line or sewer lateral issue, not a local clog — stop using water and get the drain system cleared before cleanup.
Sewage reached HVAC ducts, return vents, or wall cavities: Contamination may have spread beyond visible surfaces — the hidden space will need inspection and likely removal of materials.
The affected area is larger than about 10 square feet: That is past the comfortable DIY zone for most homeowners — a restoration contractor can extract, remove, and dry the area more completely.
There is a strong electrical or gas hazard nearby: Wet outlets, soaked appliances, sparks, or gas odor turn cleanup into an emergency — stay out and call the utility or emergency services as needed.
Anyone in the home has a high infection risk or can’t avoid exposure: Infants, older adults, immune-compromised people, and anyone with open wounds should not be around sewage — isolate the area and arrange outside help.
The sewage came up through a floor drain repeatedly after you cleaned it: The line is still blocked or the system is overloaded — more mopping will not fix a plumbing problem.
There is also a practical limit: if you are using more than a couple of hours and the room still smells bad after drying, you are probably missing contamination in a layer you cannot reach. That is the point where a professional can save time, materials, and a lot of regret.
For health-risk escalation, see the CDC and EPA guidance above; both recommend professional help when sewage is widespread, hidden, or beyond simple surface cleaning.
The mistakes that make sewage cleanup worse
The most common mistakes are simple, and each one makes the cleanup larger or more expensive than it needed to be.
-
Waiting to stop water use. The consequence is that the contaminated area grows while you are preparing supplies. The correct move is to shut down the source first, then gather gear.
-
Scrubbing before removing solids. The consequence is smeared contamination and more surface area affected. The correct move is to pick up and bag solids before washing.
-
Using bleach on dirty surfaces and calling it done. The consequence is weak disinfection because organic soil blocks the chemistry. The correct move is detergent first, disinfectant second, with label contact time.
-
Keeping wet carpet pad or drywall to “see if it dries out.” The consequence is odor, staining, and hidden bacterial growth in materials that were never fully cleanable. The correct move is removal of porous contaminated materials.
-
Mixing cleaners. The consequence can be toxic fumes, especially if bleach is mixed with ammonia or acidic products. The correct move is one product at a time, with fresh water rinses when required.
-
Forgetting the hidden edge. The consequence is a room that looks fine but smells bad from baseboards, under cabinets, or behind trim. The correct move is to inspect the lowest 12 inches of walls and all seams, not just the center of the floor.
If you want the shortest version of the right method, it is this: contain, remove, wash, disinfect, dry, inspect, and discard the materials that cannot truly be cleaned. Break that sequence, and you pay for it later.
What changes in basements, toilets, and main-line backups?
The standard checklist still applies, but basement sewer backup cleanup changes the details because gravity, drains, and hidden moisture make the problem harder to see. In a basement, the floor is often the collection point, so water can travel farther under walls, cabinets, and finished flooring than it first appears.
A toilet overflow is usually the most contained version. Shut the toilet down, keep the lid closed if that reduces splash, and remove only the materials that were hit. A floor drain backup can be more deceptive because it may not spread in a visible puddle before it moves into seams or under baseboards. A main-line backup is the most serious because it can affect several fixtures at once and push sewage into lower rooms, cleanouts, and basement drains.
Down low, the bottom 12 inches of drywall deserve special attention because that is where wicking starts. If carpet was present, pull up the tack strips and pad if they were touched, and do not assume the face of the carpet tells the whole story. Unfinished concrete can often be cleaned, but cracks and joints still need attention. Finished basements often need more removal than homeowners expect because trim, insulation, and wall cavities hold odor even after the visible floor looks clean.
The alternatives are simpler to say than to do: clean the visible area and hope,